In recent years we’ve learned how important bees are for the environment. They directly contribute to food security around the world. In fact, according to the Food and Agriculture Organization of the United Nations, a third part of the world’s food production depends on bees and other pollinators.
After learning their importance, an increased interest in beekeeping is no surprise. This wonderful activity has benefits not only for you and your family but for your local environment: your hives will help pollinate nearby plants and flowers while you enjoy collecting your own honey and wax and, most importantly, helping save the bees.
If you’re considering becoming a beekeeper but have no idea how to start, you’ve come to the right place. This guide will introduce beekeeping, from how to start beekeeping and the equipment you need to how to collect the honey.
How to start beekeeping
Research!
Yes, that’s your first step to start beekeeping. Gather information about basic beekeeping practices, talk to local beekeepers, take a course on beekeeping, make sure you have enough space, and get all the beginning beekeeping supplies you need. The more you know about the topic, the more likely you’ll have success on your new project.
Beekeeping is not as demanding as it sounds, but it needs to be done carefully. After all, these are living creatures, and although they can be largely self-sufficient, there are things that you need to do as a beekeeper to ensure their health and survival.
Here’s some basic information:
🐝 A honeybee colony typically has between 60,000 and 80,000 worker bees and drones, but only one queen bee
🐝 A queen bee lays about 1,000 to 2,000 eggs daily during the production season
🐝 Male bees are called drones
🐝 Female bees (except for the queen) are called worker bees
🐝 A queen bee can live from two to four years
Now, let’s go to the specifics!
Where to buy bees
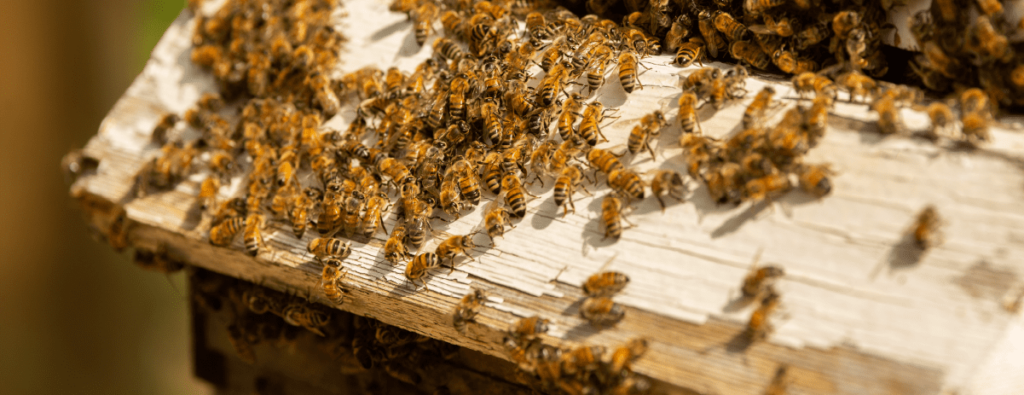
You can buy bees online and have them shipped. Yes, the US Postal Service ships live bees, although they may ask you to come to the local Post Office to pick them up rather than deliver them to your house. There are two ways to receive your bees:
- Package: this is a box with filled worker bees and a single queen.
- Nucleus: also known as nuc, this is a partially developed colony with a queen, worker bees, and some brood (baby bees). You’ll receive five frames of comb.
You can also contact a local beekeeper to buy bees. They advertise with local beekeeping associations or put up online ads.
How much space do I need for beekeeping?
Backyard beekeeping doesn’t need much space.
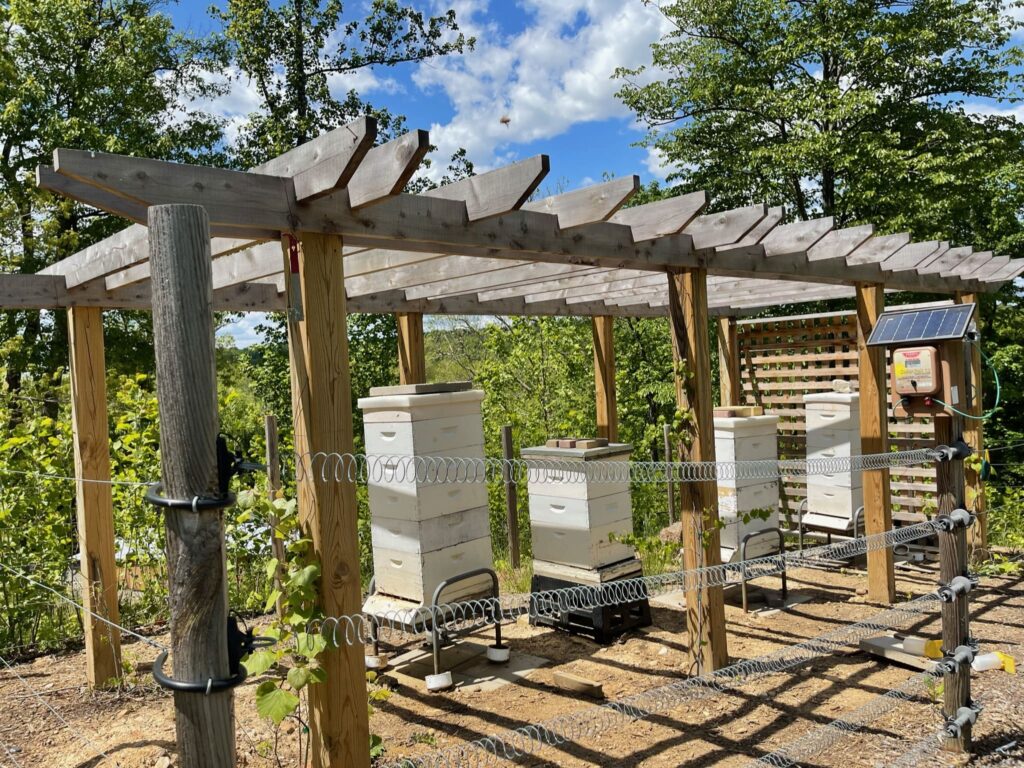
You would need a small area of around 3ft x 3 ft for a single hive. If you plan to have more than one hive, keep at least a foot between them.
Try to give them a cozy space! Put the hives in a spot with plenty of morning sun and maybe even a nice overhead tree shade to keep them cooler at night.
⚠️ Be mindful of your neighbors and passersby!
Locate the hives away from sidewalks or neighbors’ doors. The bees should have enough space to fly in and out of the entrance without disturbing anyone.
Do I need a license to be a beekeeper?
It depends on where you live and on how many colonies you have. We suggest you check the local regulations of your city.
Keep track of the cycle
The best moment to start with beekeeping is during spring, so make sure you have all your beekeeping equipment by then. Once you’ve received your bees and installed them in your hive, feed them with a sugar and water formula for the following 3 or 4 months. If the colony has adapted, you’ll be able to harvest honey by the fall.
When November comes, the bees will prepare for winter. Make sure they are protected from the cold weather and have enough ventilation. During the winter months (December, January, and February), there’s not much need for maintenance.
And then it is time to start all over again!
Beginning beekeeping supplies
Beekeeper Starter Kit
To get started with your new hobby, we highly recommend you get a beginner beekeeping kit.
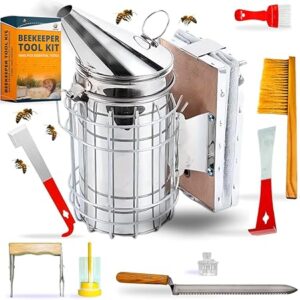
SunVara’s curated toolkit includes nine tools to maintain your hives effortlessly and avoid looking for each tool separately. Each tool is made from high-quality stainless steel and wood, so you’ll get durable tools that will last for years!
The toolkit includes:
- Bee smoker
- Bee brush
- Honey uncapping tool
- Honey uncapping fork
- Queen excluder
- Queen marking tube
- J-hook hive tool (frame lifter)
- L-hook hive tool (frame scrapper)
- Frame grip
-
 Beekeeping Supplies Toolkit$31.99
Boardman Feeder
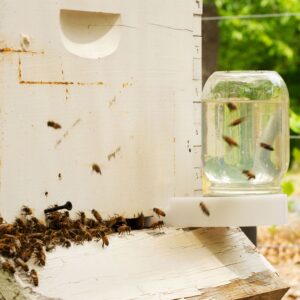
Get a bee feeder that allows you to monitor sugar water levels at any moment without disturbing the colony. This Boardman feeder allows you to do exactly that! It works with any standard mason jar, so you can easily replace them.
-
 Boardman Feeder – 2-Pack$10.49
Smoker
Ever wondered how to harvest honey safely? With smoke!
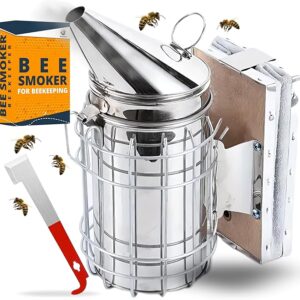
By using a bee smoker, you’ll be able to calm bees when you need to monitor or inspect the hives. The smoke blocks the bees’ alarm pheromones, allowing you to maintain the hives without harming the bees.
SunVara’s Bee Smoker is a great option since it is easy to light and keep lit with any fuel you use. It also has a heat shield to prevent burns while performing routine checks.
-
 Bee Smoker With Heat Shield$21.97
Protective Veil and Gloves
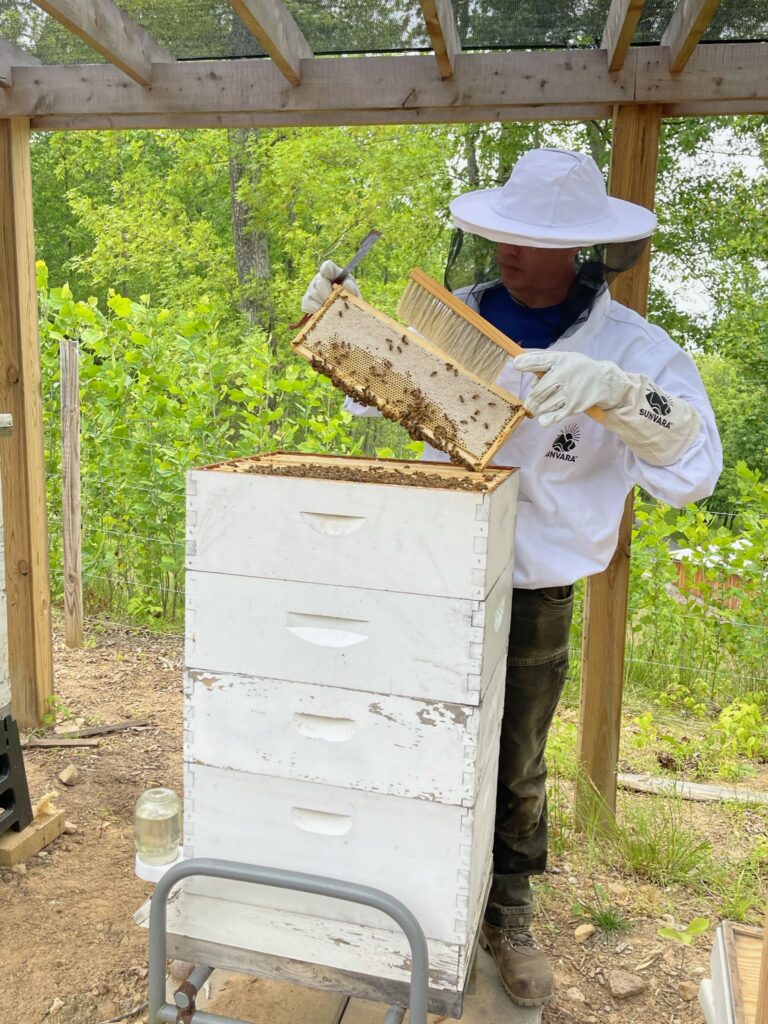
As a beginner beekeeper, you should use protective clothing to avoid stings. There are different types of protective gear, so take your time to pick the best one.
Types of beehives
Langstroth hive
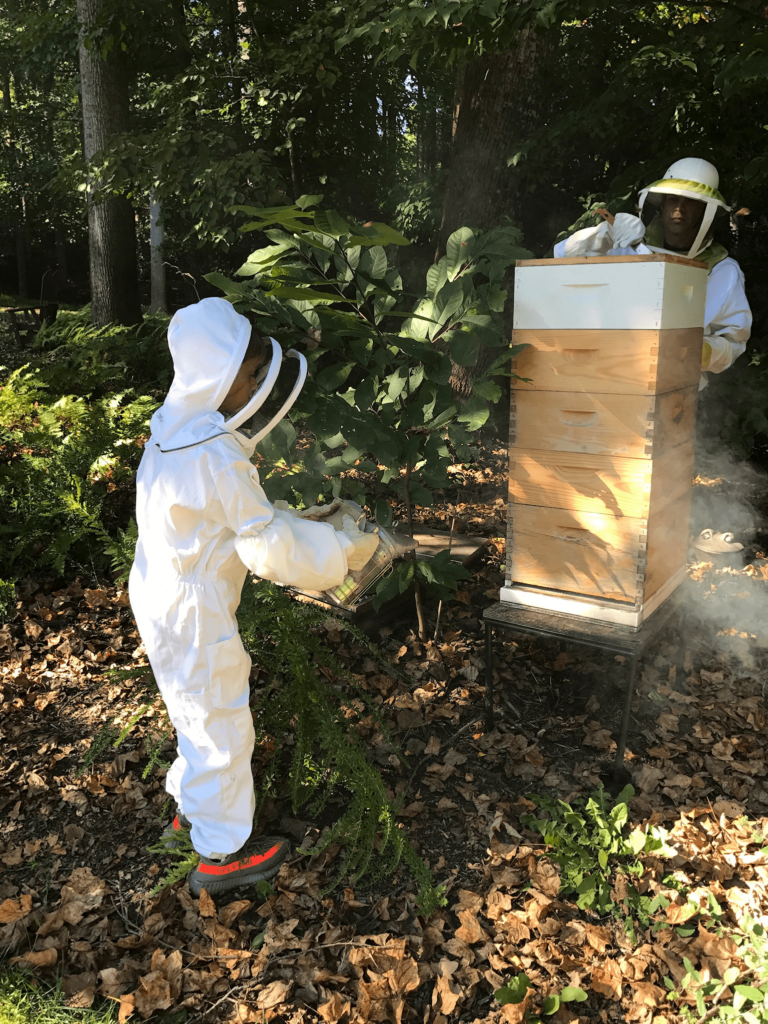
This hive is composed of boxes stacked on each other. Each drawer or box is referred to as a super. This is the most common hive in the United States. Each super contains ten frames where the bees build their comb. You pull the super out to access them, harvest honey, or do maintenance. In addition to the ten-frame version, smaller versions only contain eight frames. The smaller size super is easier to pick up for people that might struggle with a fully loaded ten-frame version.
When the bees fill a ten-frame super full of honey, it can weigh up to 60 pounds! The eight-frame super is smaller to store and easier to carry.
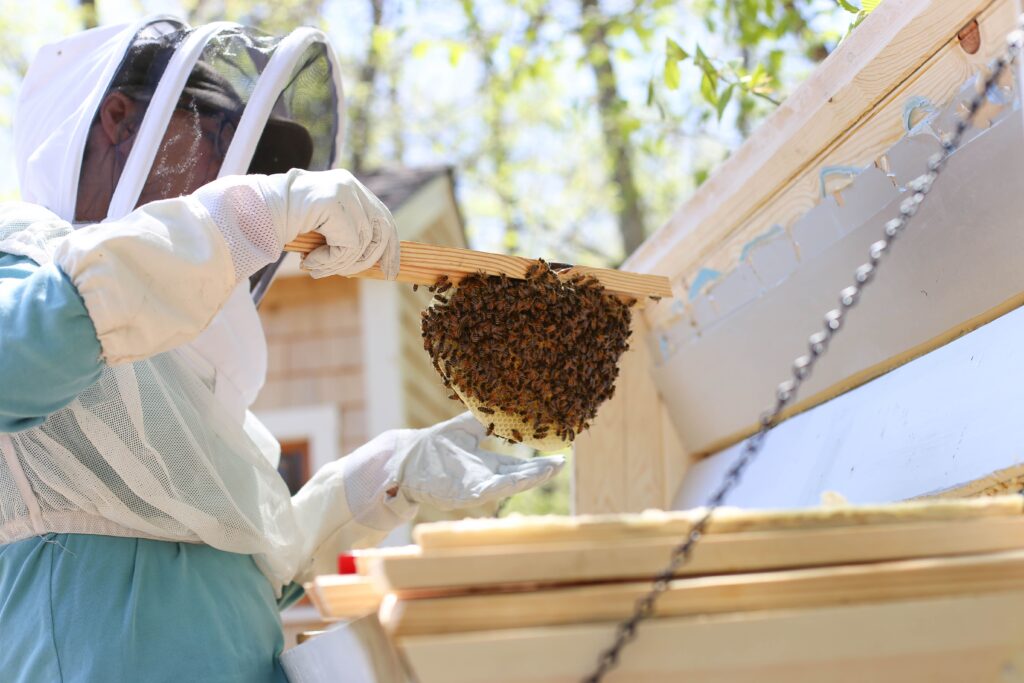
In this type of hive, the frames are arranged horizontally, and the bees won’t have a foundation for their comb. Each bar is pulled up from the top. The top-bar hive is much less popular in the United States than the Lanstroth hive, but it does appeal to folks who want a more “natural” bee experience.
Because the top-bar does not use foundation frames, the bees are building a pure hanging wax honeycomb in a shape that is closer to that found in nature. It is also more appealing to beekeepers who wish to harvest the honeycomb instead of just harvesting it.
How to harvest and store honey
In early fall, it is time to harvest honey. In the United States, this typically happens around Labor Day (September 4). Some beekeepers do a single harvest at this time, others may do two or three smaller harvests.
It is important to leave the bees with enough honey to survive over the winter and take only the amount of honey they can spare. This is part art and part science, and you develop a feel for this as you become more experienced. Most experienced beekeepers leave a minimum of 40 lbs of honey in a hive to overwinter, but depending on the size of your hive and the severity of your winters, you will want to leave more. Ask your local beekeeper network for specific guidance for your area!
You will want to remove frames filled with 80% or more capped honey cells for harvest. You can tell if a capped cell contains honey because it is a white, almost transparent color.
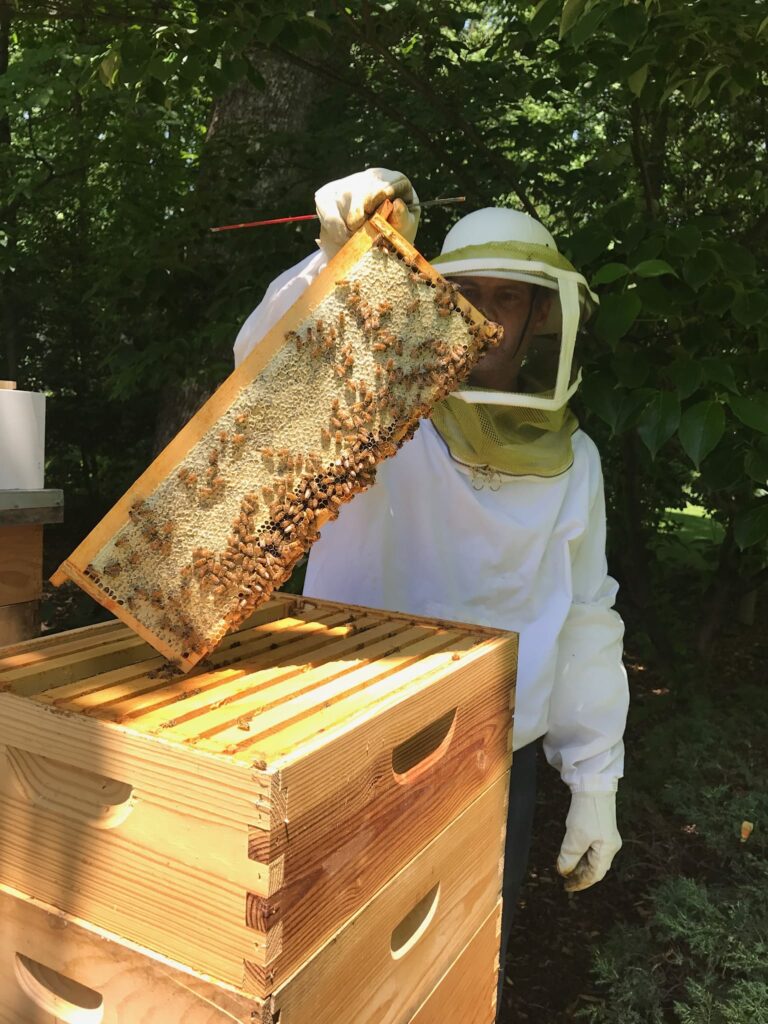
If the cap is brown or orange, this is a pollen or brood chamber, and you want to avoid harvesting that frame. You should use a bee brush to brush the bees off the honey frame gently and then bring it inside to harvest.
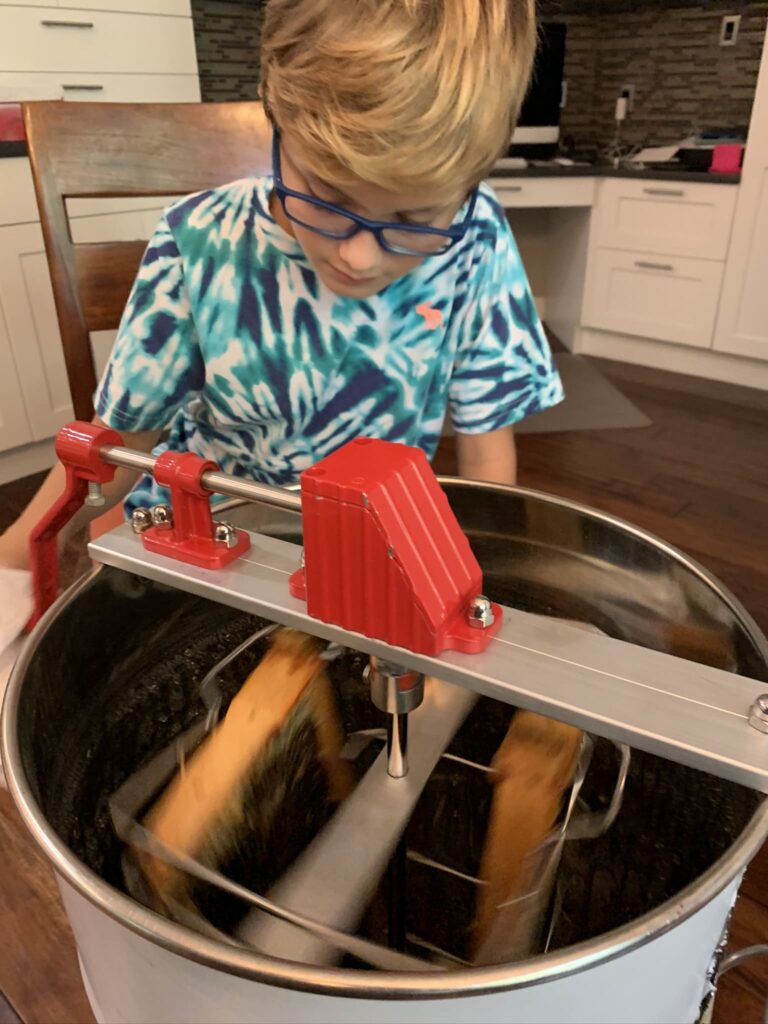
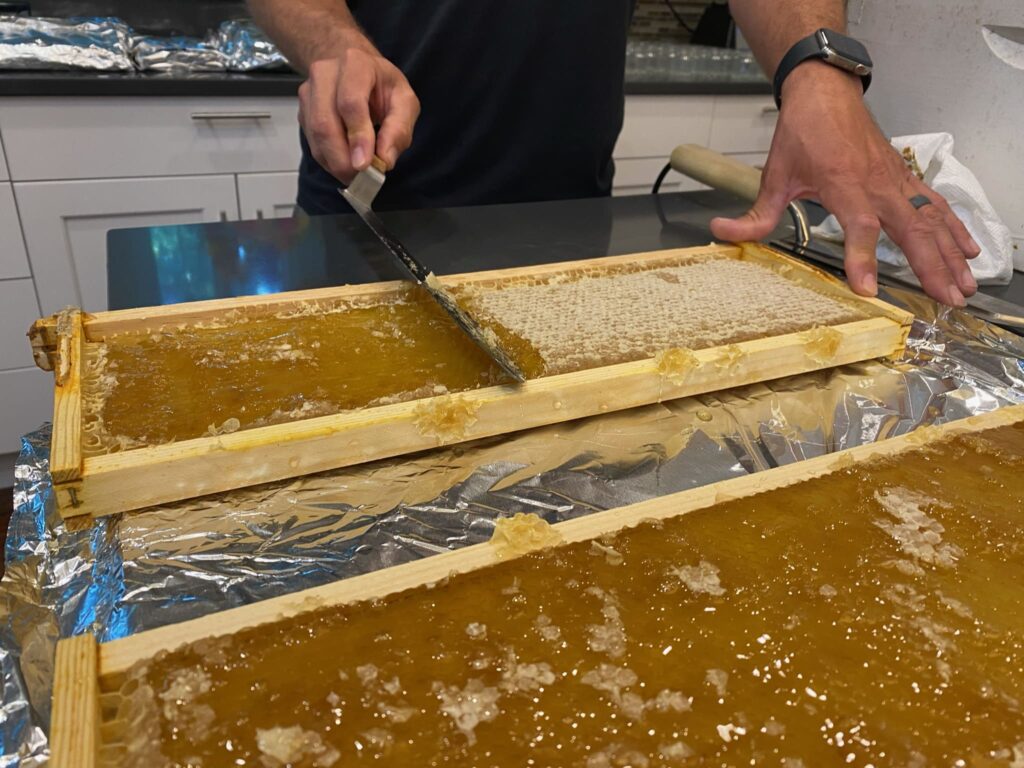
Once you have your harvested honey frames, you need to remove the wax caps, so the honey will flow freely. You can use the uncapping knife from our set, which is really convenient or just use a sharp kitchen knife. Once most caps are removed, you can just lay that side of the frame over a bowl and collect the honey until it stops dripping. This works well for a small number of frames but gets tedious for larger volumes. To quickly remove the honey from many frames, you need a spinner or centrifuge made specifically for honey harvesting.
This spins two or more frames at once using either a hand crank or motor. This allows the honey to be harvested from a frame in just a few minutes.
Once you have harvested the honey, strain it through muslin, cheesecloth, or filtering material specially made for honey straining. This removes any bits of wax that might be left over in the honey. If you want the best-tasting and most authentic honey, you can just pour the strained honey into clean jars or bottles and seal them. This is called “raw” honey. However, some localities require honey to be heated in a pasteurization process before bottling. Check your local regulations if you plan on selling the honey to see if this is required in your area.
Don’t throw away those frames once you have extracted the honey! Those are called “drawn combs,” and they are highly prized by knowledgeable beekeepers. The reason they are so valuable is that when they are put back into a hive in spring, the bees can skip all of the hard work associated with building the comb and get right back to filling it with more honey.
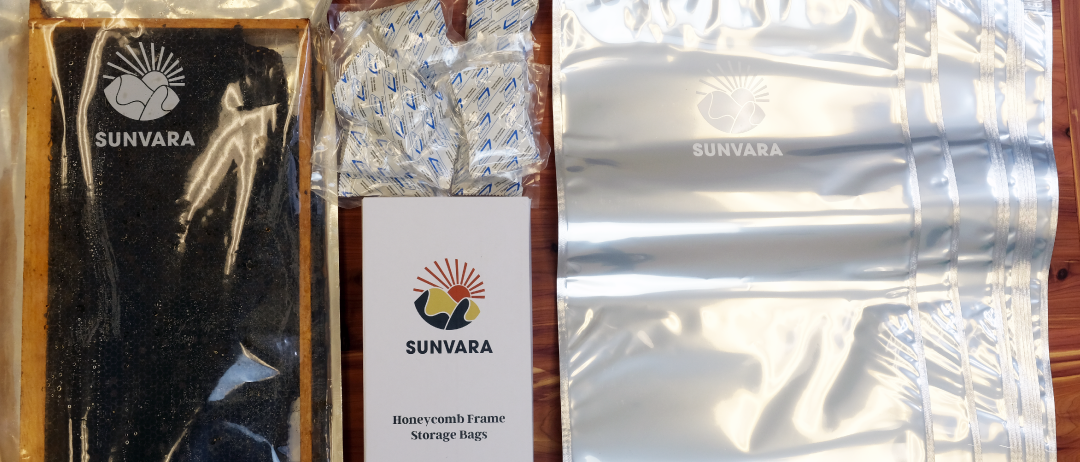
The only challenge with drawn comb is that it needs to be stored over winter. During this time, it needs to be protected from moisture, mold, and pests such as wax moths, ants, and mice. That is why we developed our exclusive SunVara comb storage bag. These specially designed bags will keep your drawn comb in pristine condition and ready for a new season next Spring!
Let it bee!
We hope this guide has swarmed you with ideas and inspiration. After all, apiculture is full of buzz!
Now that you know the basics of beekeeping, you’re ready to start your journey. It can be challenging, but you just need to have patience. Enter your busy bee mode and enjoy the sweet nectar of your hard work 🐝


